My Gluten-free Easter Cookies
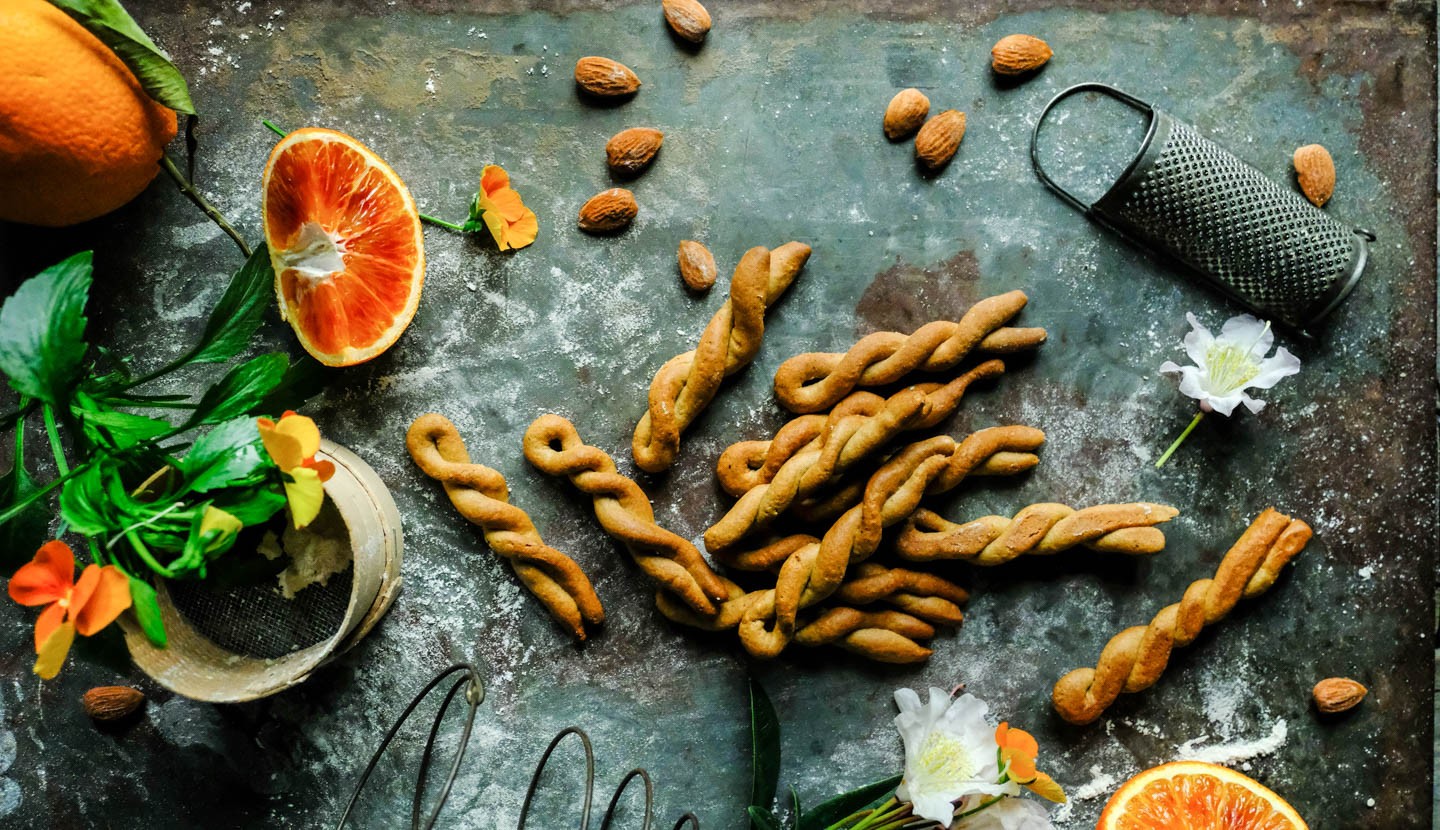
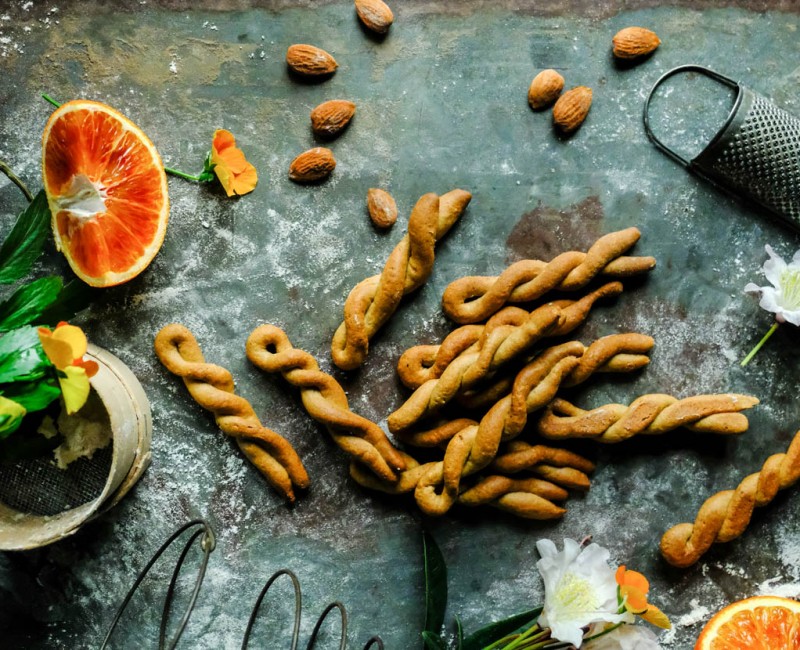
The weather has gone crazy today! April is almost over, Easter is around the corner but the weather doesn’t really want to cooperate! It’s raining heavily with thunders and lightnings completing the gloomy picture. The clouds are so dark, as if they came here to stay!
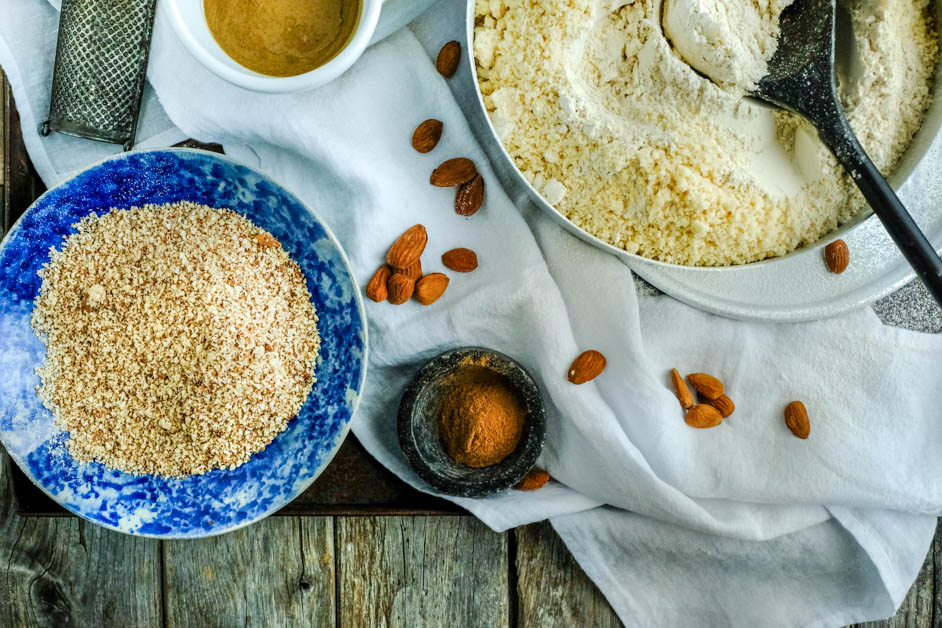
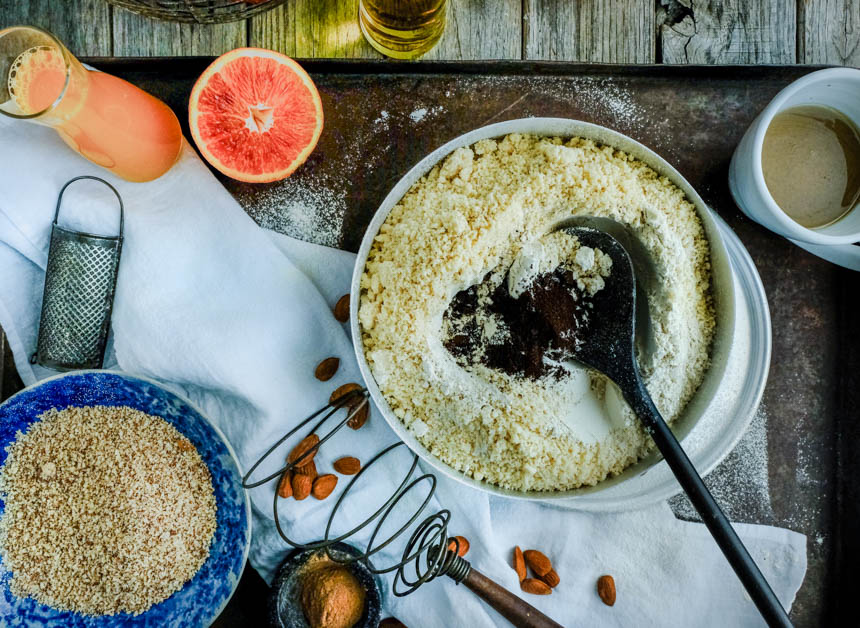
To be honest, even though the weather makes me feel a bit uneasy, I’m in a cheerful mood at the same time. My joy is justified though! I’ve decided to spend the rest of the day in the kitchen, next to my favourite window where all my backdrops and camera gear have found their permanent home. All I need is to prepare my props for the day and I’m ready!
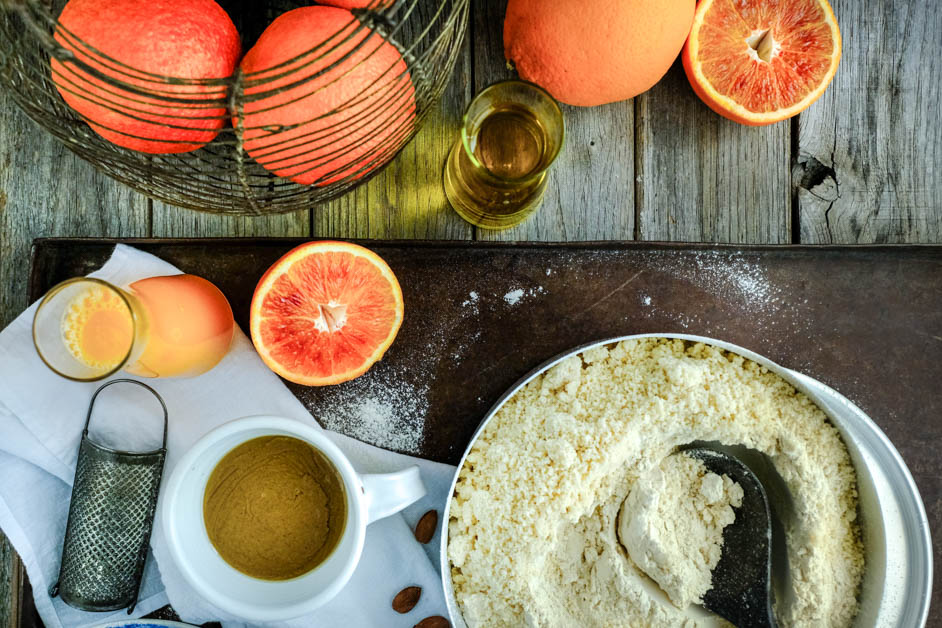
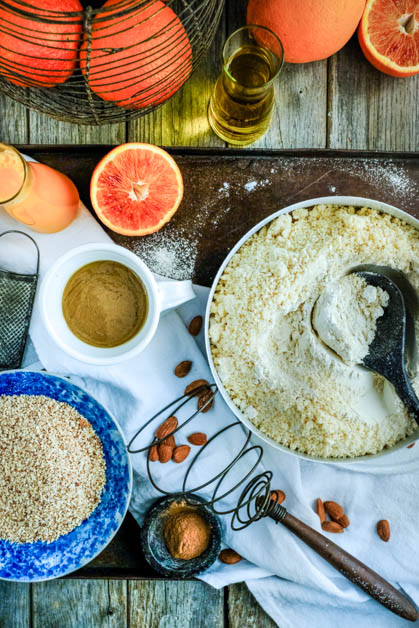
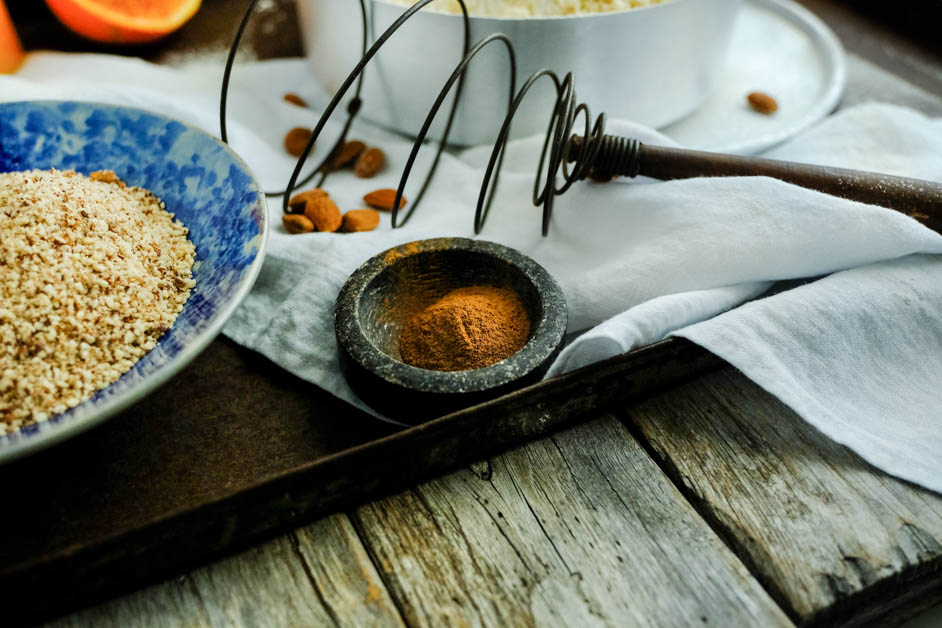
You might be thinking, “Does she really want to spend all day in the kitchen?” but I have important things to do! I’ll be testing all the different kinds of flours that I have bought and will attempt to make something a tiny bit hard! I’m making my favourite, timeless Christmas-Easter cookies, only this time they’re going to be gluten-free! The recipe is very old and I’ve literally made tons of these cookies throughout the years.
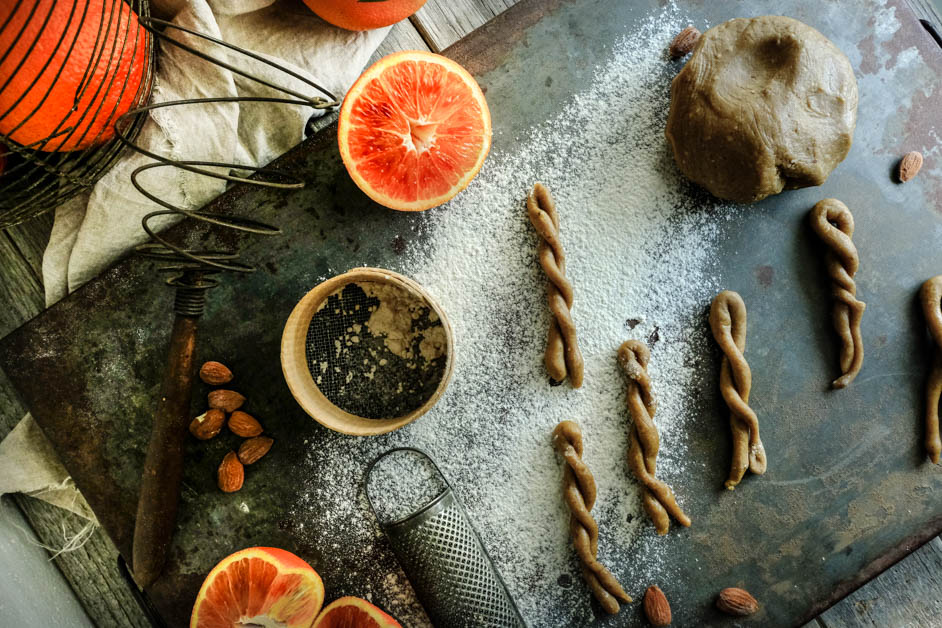
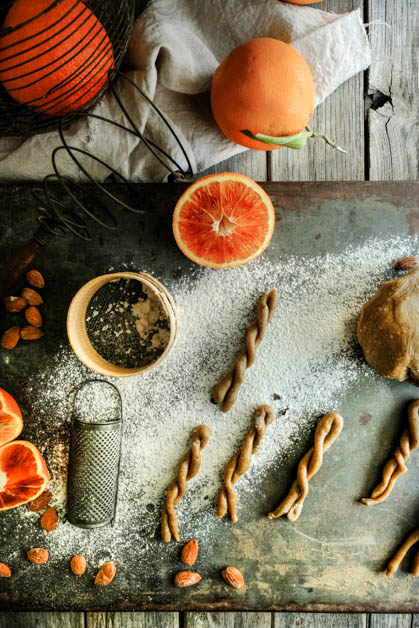
I believe I’ve already changed this recipe quite a lot. I've been trying to make it healthier and healthier every time by using more natural ingredients and flours and I’ve realized that my cookies no longer have the beautiful appearance they once had. Luckily, their taste remains just as good!
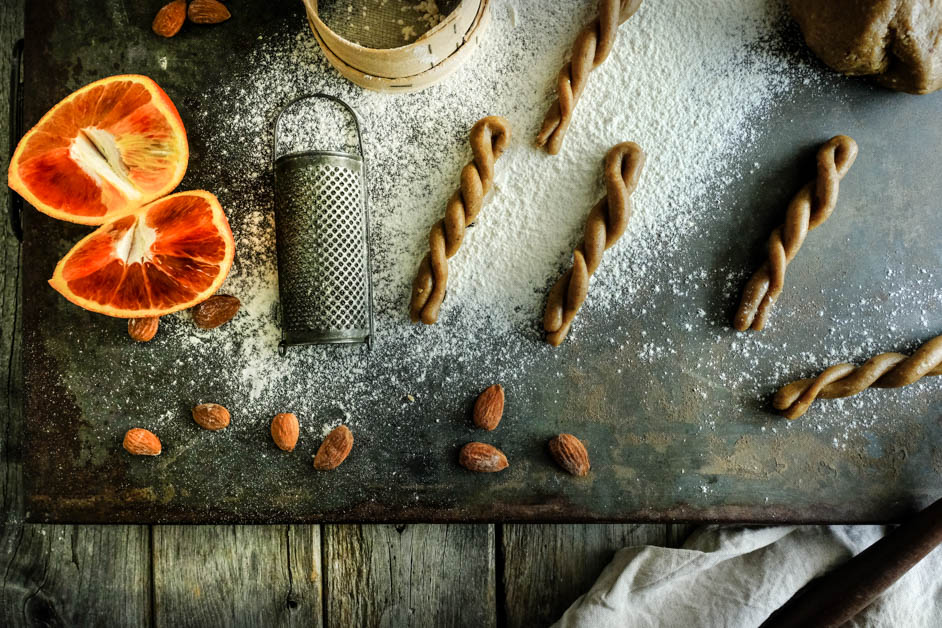
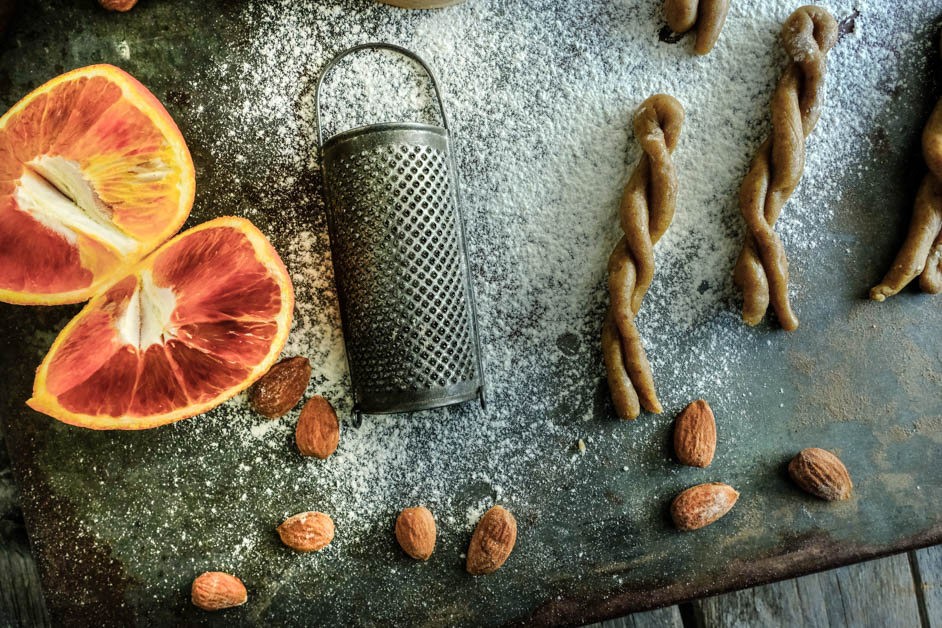
I’m determined to push it to the limit today! All the flours I’ve picked are gluten-free (at least almost all of them, as spelt flour might contain gluten up to 5%, so it’s important to be mentioned for those who are gluten intolerant). I’ve bought quinoa flour, buckwheat flour, spelt and almond flour. As for the oil, I chose to use a mixture of organic sunflower oil and sesame paste. The rest remains the same. Oh, and something else! I’m obviously not going to use baking powder so instead of that, I’ll add a teaspoon of baking soda to my dough.
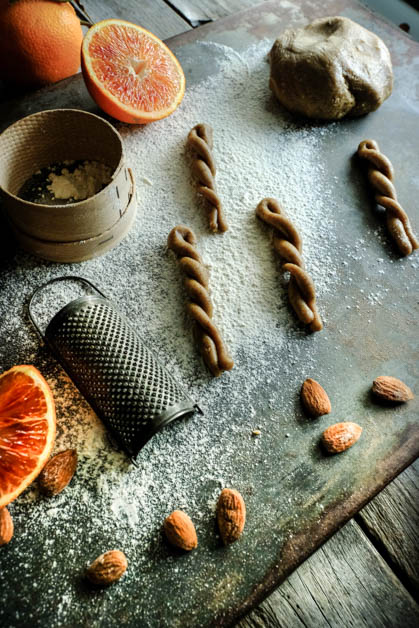
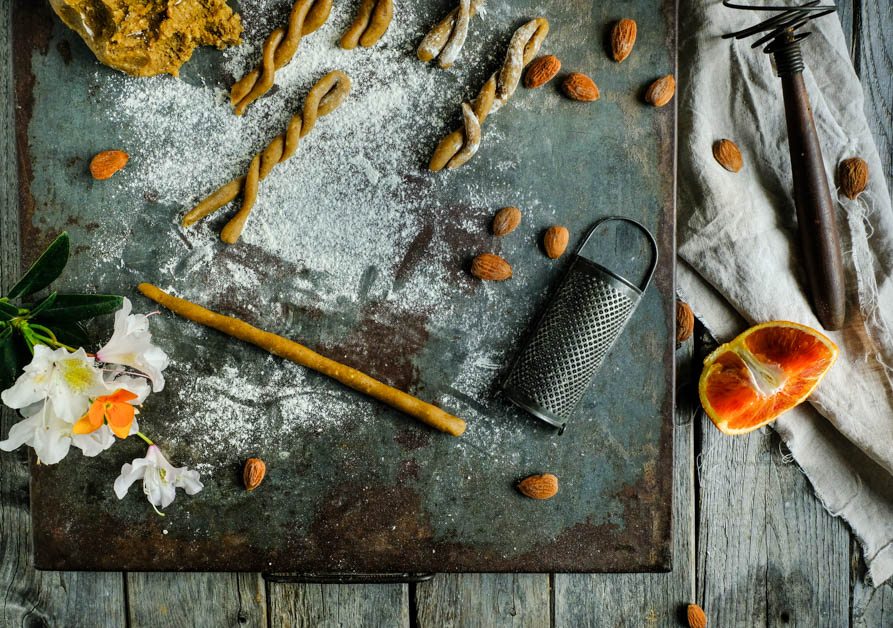
I’m at my favourite space, in my kitchen, and the setting is all ready next to my beloved window. It’s pouring outside and the light is truly beautiful. I’m kneading and there’s dough everywhere, a complete chaos! My kitchen is not too spacious, after all! I have this feeling of pure bliss and I really hope this big mess will be worth it!
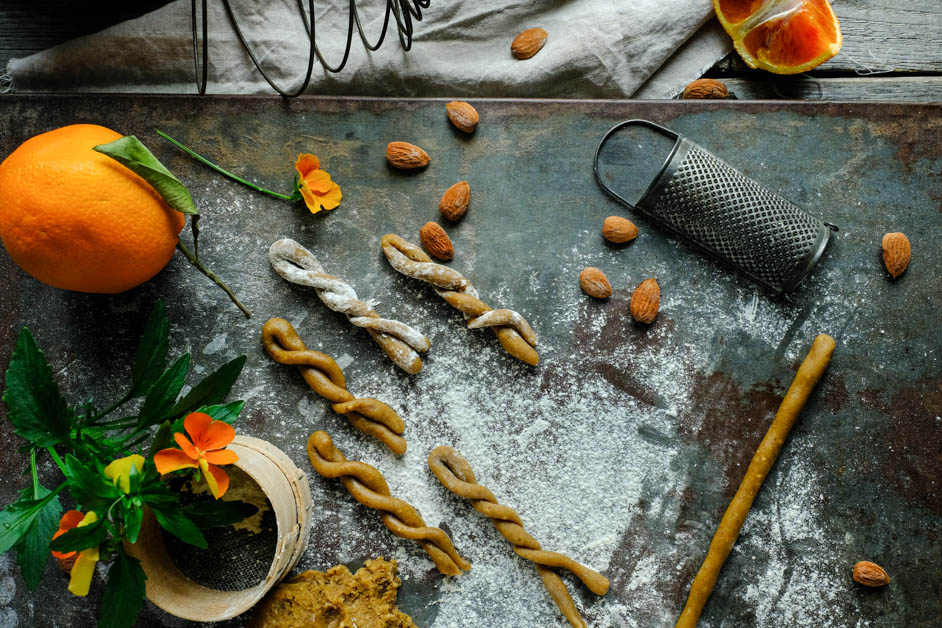
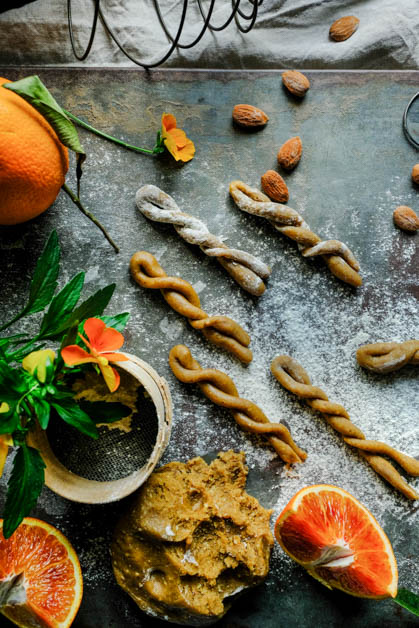
Can’t wait to see how my dough turns out. Will it be bendy and smooth enough? And of course, I need to make sure that my cookies are picturable! Let’s not forget that before we start eating here, we always take pictures, so they need to look good!!
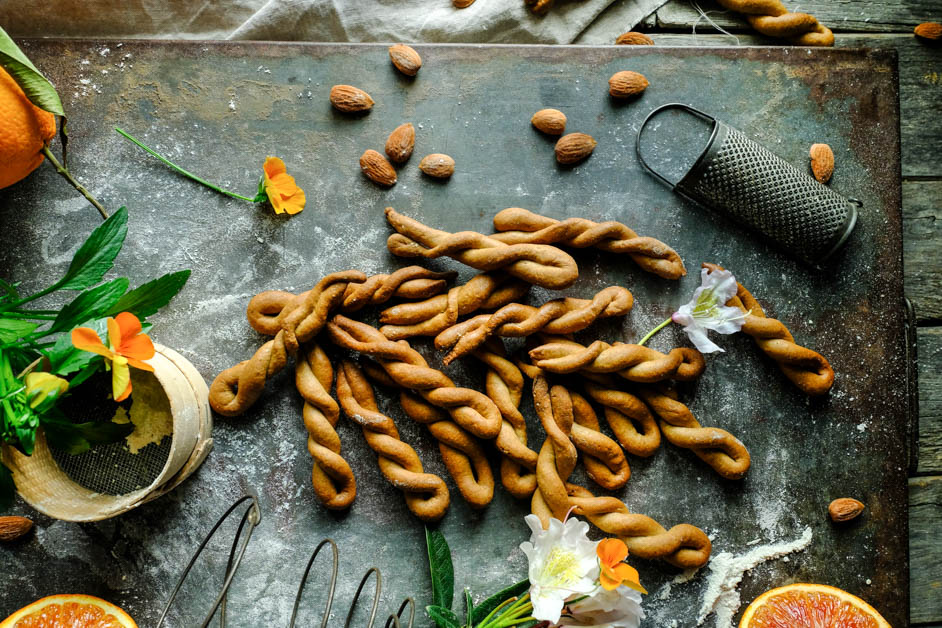

This first attempt proved to be very successful! My dough is perfect and any my beloved braided cookies look wonderful, surprisingly better than any other time! I’m truly impressed!I always prefer sweets that are not too sweet and my cookies taste exactly how I like them! Perhaps a bit more almondy due to the use of almond flour and the generous quantities of nuts that I like to add. I’ll fix that soon. For now, the first batch of my favourite Easter braids is ready. There’s more to come, for sure!
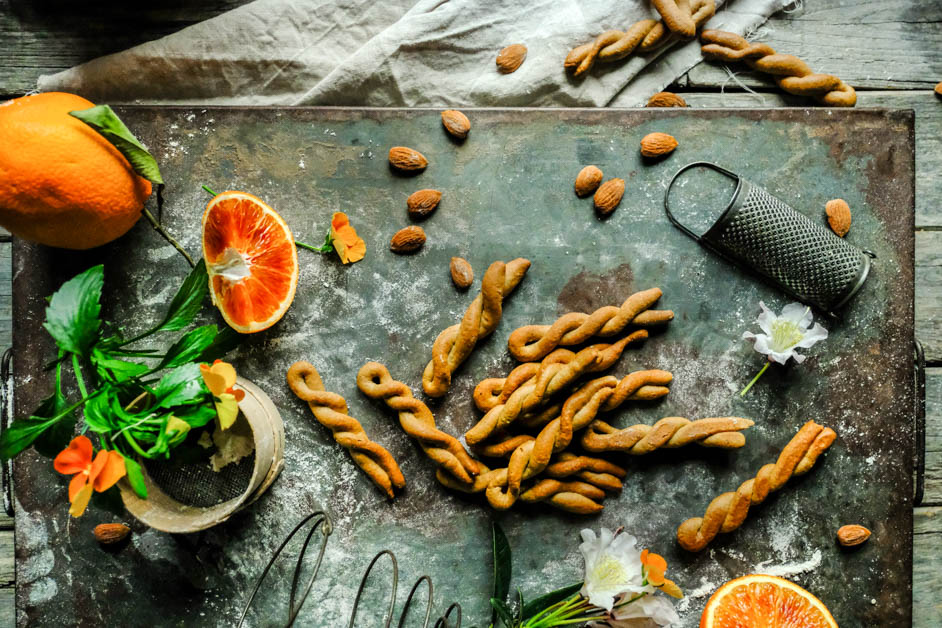
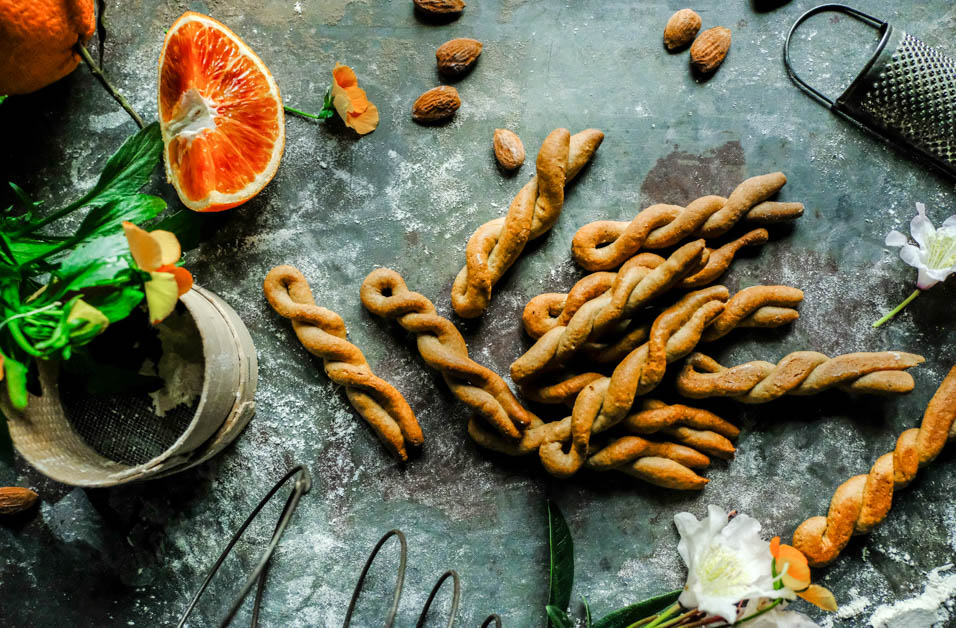
If you feel that braids are a bit démodé as a shape, I will have to disagree! I believe it’s the most beautiful and crunchiest shape ever! Throughout the years, we’ve explored many options in shapes depending on the season, chubby and round “Happy Easter” eggs, bunnies with huge ears, spring chicks.. They were indeed great for kids. But Easter without braided cookies sounds a bit bizarre in our home and today, they are the true protagonists. They also remind me of my own childhood and they bring back memories, colours and scents. Happy Easter!
Ingredients
250g spelt flour
250g buckwheat flour
250g quinoa flour
125g almond flour
160ml sunflower oil
120g sesame paste (a bit runny)
220g demerara sugar
125g ground almonds
1tsp baking soda
1tsp cinnamon
Beans from one vanilla stick
1 glass orange juice
Zest from 1 orange
Method
1. In a big bowl add oil, sesame paste, sugar and orange juice (after you’ve dissolved baking soda in it). Stir well with a mixer until the ingredients are blended enough with the sugar. Add the cinnamon, vanilla and the orange zest and continue mixing. Add ground almonds and then proceed to adding the flours.
2. Add the flours gradually. Make sure they start being absorbed. Our goal is a soft and bendy dough. If you see that your dough needs more or less flour, make the necessary adjustments. When your dough is ready and almost non-sticky, place it on a floured surface.
3. Preheat the oven to 180C. Take small parts of the dough and start to slowly open the dough creating a narrow and long shape. As you continue shaping it, make it even slimmer and create the shape of a small, thin snake. Fold the snake in the middle and, take the edges and start braiding. It takes a bit of time. The thinner you make them, the crunchier they will be.
4. Bake the cookies for 15-18 minutes –depending on the oven- until golden. Let them cool down and harden. You can store them up for weeks!

Comments